The Almond Cow does meet its claims of “No straining. No mess. Easy cleanup.” But the results may be more watery than you’d like, as there’s less flexibility with the water to almond ratio. If you already own a food processor, you may be better off making almond milk in it instead (unless you really hate straining the milk once it’s blended).
Almond milk is one of the most popular plant-based milk alternatives with more than 40 different products available in Aussie supermarkets. But the almond content and percentage of protein in the products can vary.
Making your own almond milk isn’t difficult – you have control over the almond content and can create a more delicious milk that caters to your tastes. Plus, the product is fresh and you can use any leftover pulp to bake muffins and cakes.
But one of the biggest complaints about DIY almond milk is having to strain the nut bag or muslin cloth to extract the milk after blending, as it can be messy and time-consuming.
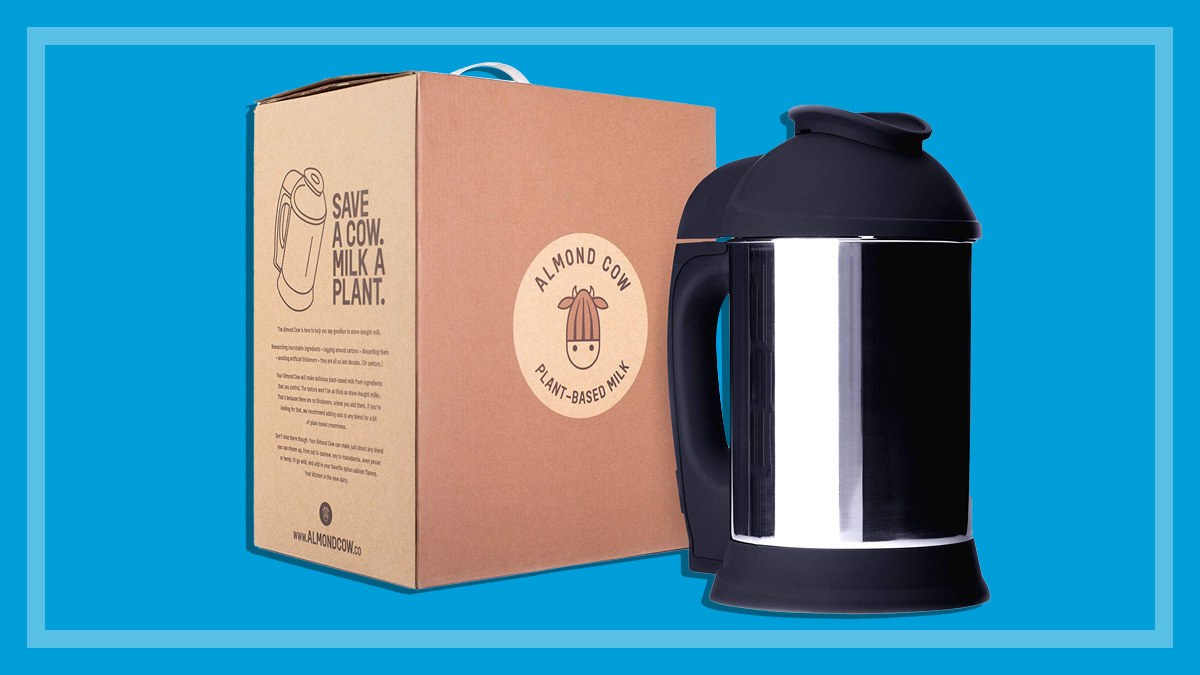
Enter the Almond Cow – a plant-based milk making machine that promises fuss-free almond milk in “less than a minute”. We take a closer look.
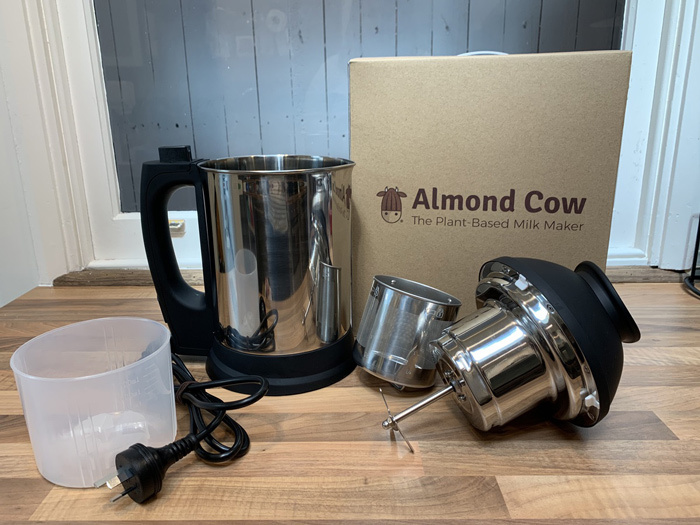
The Almond Cow consists of a blender base and head (including a built-in immersion blender), metal filter basket, small plastic container/collector cup and removable power cord. When assembled, it looks similar to a kettle and is about the same size.
It has two major selling points: first, it separates the almond milk from the pulp, so you don’t have to spend time squeezing; second, it can make milk in one minute.
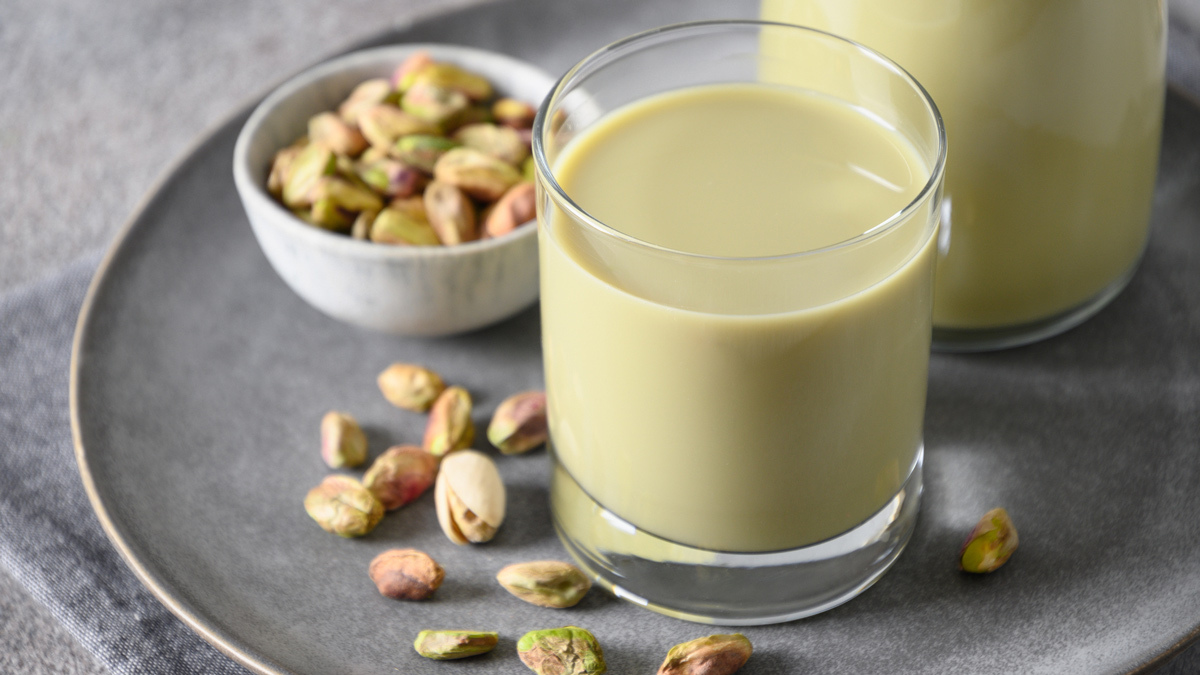
The Almond Cow can also be used to make a variety of plant-based milk alternatives including oat, cashew, coconut, pecan and pistachio. But for the purposes of this review, we’re focusing on almond milk.
Almond Cow: not to be confused with an edible Prunus dulcis seed or a furry bovine mammal.
What does the milk taste like?
I followed the recipe and instructions that were included in the box, and the result was a fresh-tasting milk with a subtle almond flavour. It was also similar in colour to other homemade or store-bought versions.
But it was also quite watery – a complaint many other users have raised in the comments section on the Almond Cow website.
The result was a fresh-tasting milk with a subtle almond flavour… But it was also quite watery
In response, the brand has offered several tips for making creamier milk, such as using warm water, using the collector cup inside the base so you can blend using less water, or running the cycle twice with fresh almonds (leaving the milk in the base of the machine).
I tried each of these methods and although they did make the milk creamier than the original Almond Cow recipe, it wasn’t quite as creamy as the ‘Fiona Mair recipe’ made in a food processor.
The fact that I had to go through these extra steps to make the milk taste creamier also made me question the ‘quick and easy’ sales pitch of the Almond Cow.
How much almond milk does it make?
Following the original Almond Cow recipe, I ended up with about one litre of milk.
When I followed the collector cup method (same amount of almonds but less water), I ended up with about 350mL.
Once I’d added the almonds to the filter basket, I found it difficult to attach the basket to the head, as I couldn’t push the blender blade past the almonds.
Almond Cow recommends tilting both pieces sideways to get the blender blade in. But it took me longer than I expected to fit it on and I had to jiggle the basket, losing some almonds in the process.
Cleaning
Cleaning the Almond Cow was easier than I expected. I assumed getting the almond pulp out of the metal filter basket would be time-consuming and difficult, but it only needed a rinse and a wipe. That said, you do have to be careful cleaning the blender blade and head, as you can’t get the black ‘head’ wet – that’s where the machine’s ‘engine’ is and it can be damaged by water.
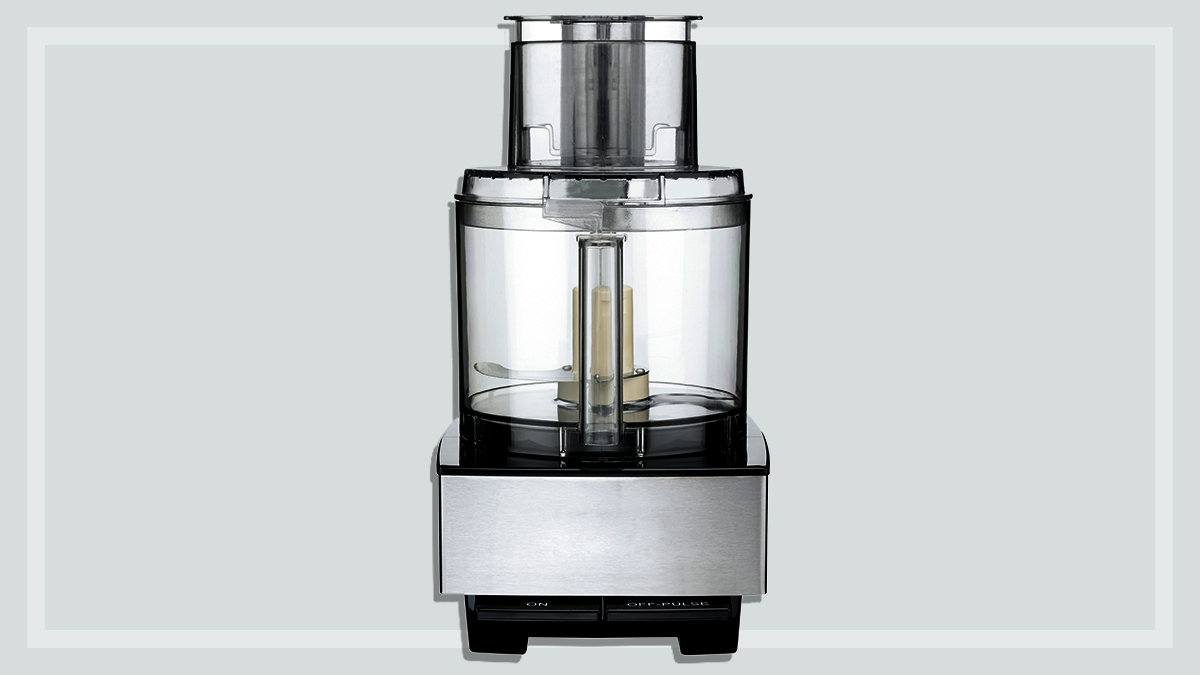
Almond Cow vs food processor
Is an Almond Cow better at making almond milk than a food processor? We made almond milk in both, following the Almond Cow recipe that came with the instructions leaflet.
Here’s how the two appliances compare.
Price
The Almond Cow costs $252 (US$195) plus shipping and taxes. In our latest food processor review, prices range from $49 up to $999, with 18 models costing less than the Almond Cow.
The food processor method took about nine minutes to make almond milk from start to finish, including set-up, blending, squeezing the milk and cleaning the processor.
The Almond Cow was faster, taking about five minutes from start to finish (including the advertised one minute blending time).
Ease of use
There were pros and cons to both.
The Almond Cow lost out to the food processor for ease of set-up due to the difficulty of fitting the filter basket to the blender blade.
On the other hand, you don’t need to squeeze the almond milk with the Almond Cow, which saves on time and mess.
Both appliances were equally easy to clean and took roughly the same amount of time to clean.
Taste
We made the Almond Cow recipe in our food processor (and processed it for one minute, the same time the Almond Cow takes) and ended up with similar-tasting milk that was also quite watery.
But where the food processor really shines is that you have more control over your recipe and can change the almond-to-water ratio more easily than with the Almond Cow, to make for a creamier milk.
Food processor: Prices range from $49 to $999, but you may already own one
Total time spent making almond milk (including set-up and clean up)
Almond Cow: 5 minutes
Food processor: 9 minutes
Ease of use:
Almond Cow: Difficult to fit the filter basket to the blender blade.
Food processor: Need to squeeze the almond milk, which is time-consuming and messy.
Taste
Almond Cow: Fresh, enjoyable flavour, but watery in texture. Less control over almond to water ratio than a food processor.
Food processor: Following the Almond Cow recipe results in similar taste and texture. But you have more control over recipe ratio which can result in a creamier almond milk.
Will the Almond Cow save me money?
The manufacturer itself doesn’t make any claims about the Almond Cow saving you money. But if you go on social media or do a quick Google search, you’ll find many happy owners boasting of how they’ll recoup the cost of the $252 machine in a few months by making their own milk rather than buying it in-store.
But when we crunched the numbers, these claims didn’t stack up.
To make our milk in the Almond Cow, we bought an 800g pack of almonds for $16 and the recipe used roughly 185g of almonds to make about one litre of milk.
Slightly pricier than store-bought milk
Based on these figures, our Almond Cow milk cost us about $3.70. That’s six cents higher than the average cost of store-bought almond milk, making it difficult to recoup the costs of the machine.
On the upside, using the Almond Cow (or food processor) does leave you with the almond pulp, which you can then use for baking. This means there’s no waste, the pulp is freshly made, you know exactly what’s in it, and you can tailor your recipe to your specific taste.
You can also use the Almond Cow to make milks out of other nuts, grains and seeds. So although it may not save you money, it’s arguably still good value.
Almond milk recipes
Almond Cow recipe
I used the recipe included in the ‘How it works’ instructions that came with the Almond Cow.
Fill filter basket [with almonds] to 1 cup line
Hold sideways and secure the filter basket to the left.
Fill with water between “min” and “max” lines.
Attach top and power cord.
Press the cow start button (if the green light is flashing, the cow is still working).
Pour.
The Almond Cow website has a similar recipe, with some optional alternatives:
Ingredients
1 cup unsoaked almonds (if using soaked almonds, you only need to use about ½ cup soaked in water for at least 4 hours or overnight)
¼ tsp sea salt
1 tsp vanilla (optional)
1-2 tbsp maple syrup or 3 pitted dates (optional)
Directions
Put all ingredients in the filter basket. Attach the filter basket to the top of the Almond Cow and twist in the direction of the close arrow to secure.
Fill the Almond Cow base to the “min” line (5 cups) with water, attach the top.
Plug in the Almond Cow and press the cow start button
It will run through 3 automatic stages. When the green light stops flashing, your milk is ready
In the comments section, Almond Cow users also suggest some alternative recipes to make the milk creamier, including the container or collector cup method:
Instructions
Fill the collector cup to the 500mL line with water and set it in the base of the machine (no other water is added to the machine).
Fill the filter basket with your ingredients as usual and place the top onto the machine and blend
Fiona Mair's almond milk recipe
Here’s our in-house kitchen expert’s go-to DIY almond milk recipe for a food processor:
Ingredients
220g whole raw almonds
660g water, chilled
Method
Soak 220g raw almonds in water overnight
Drain almonds, then place with 660g chilled water into your chosen mixing appliance and blend for about 2 mins.
Pour into a nut bag or muslin cloth over a jug or bowl and hand-squeeze to extract liquid.
Chill before serving.
Makes about 700mL almond milk
Options and tips
Include 4 pitted dates and/or 1 tspn vanilla extract when processing for extra sweetness and flavour.
For a whiter milk, remove the almonds’ skins after soaking overnight, or use blanched almonds instead.
Keep refrigerated and shake before serving. Use within about 3 days.
Use leftover almond pulp for biscuits, cakes or muffins etc.
Marianna worked at CHOICE from 2017–2022, writing and editing content on a range of different consumer issues as both a content editor and commissioning editor.
She's conducted in-house taste tests for non-alcoholic wines, uncovered which is the best reusable water bottle, looked at the amount of sweet ingredients in infant foods, and analysed the contents of chocolate variety boxes to find out which are best for caramel lovers, fruit-goo fans and more.
She previously worked for a range of publications in both Australia and the UK including the BBC's Radio Times, The Guardian, The Sun, The Sunday Telegraph and Cosmopolitan.
You can find her on LinkedIn.
For more than 60 years, we've been making a difference for Australian consumers. In that time, we've never taken ads or sponsorship.
Instead we're funded by members who value expert reviews and independent product testing.
With no self-interest behind our advice, you don't just buy smarter, you get the answers that you need.
You know without hesitation what's safe for you and your family. And our recent sunscreens test showed just how important it is to keep business claims in check.
So you'll never be alone when something goes wrong or a business treats you unfairly.